We Scream For Ice Cream: Banana Split Bar

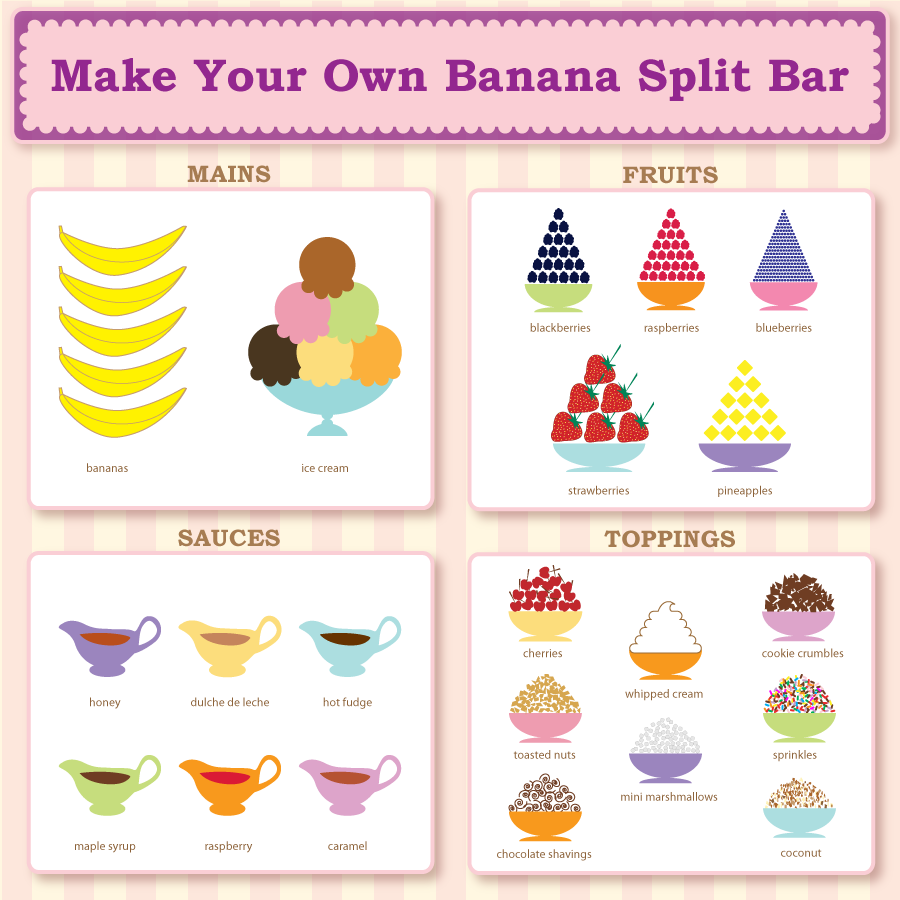
Illustration by Jackie Gordon
The first time I ordered the banana split at The Chocolate Room… in Brooklyn… around the corner from my house… I knew there would be trouble. They brûlée the bananas!! Plus, they use really good caramel sauce, really good raspberry sauce, really good ice cream and of course really, really, really good hot fudge sauce. My ass was in trouble… quite literally.
So I pretend I have amnesia and it doesn’t exist. When I pass by, I pretend they sell adult diapers and that quickens my step. Once or twice a year, I have a complete recovery and go eat the banana split and the chocolate cake (OMG!!!).
I’ve been thinking about ways to make parties, potlucks and holidays more delightful without cooking and I came up with a banana split bar. Provide one and your guests will scream for ice cream, until they fill their mouths with banana splits, then they will stop.
Just because this is a non-cooking party idea that doesn’t mean you can’t make some or all the components—go for your life. You know I would [Queen Of Overkill]. My friend Jenni Field makes and blogs ice cream every Tuesday on Pastry Chef Online .
How To Make A Banana Split Bar

Ingredients
- Bananas (bruléeing is optional)
- Sugar (for bruléeing)
- Caramel sauce - Try the salty caramel from my hood in Brooklyn that Spoonable makes.
- Dulche De Leche sauce
- Cajeta (goat milk caramel) - I love the one from Fat Toad Farm.
- Raspberry sauce
- Hot fudge sauce
- Maple syrup
- Honey
- Toasted nuts: walnuts, pecans, pistachios, peanuts
- Maraschino cherries - Cherry Man makes all natural non GMO ones.
- Griottines - French liquored up cherries = UNBELIEVEABLE!
- Amarena Cherries - Italian liquored up cherries = STUNNNING!
- Chocolate shavings
- Toasted Coconut - I love the Dang, That’s Good coconut chips.
- Fresh fruit: pineapple chunks, sliced strawberries, blueberries, raspberries
- Crushed cookies: Oreos, sugar wafers, graham crackers
- Sprinkles - India Tree makes natural ones
- Your choice of ice cream—I like to have at least three or twenty, but you can have as many as you like.
- crushed ice
- kosher salt
- Special Equipment: blow torch (for bruléeing you can use your broiler)
Directions
- Set up the bar:
- toppings in small bowls
- bowls or banana split boats
- bananas on a platter with server
- teaspoons or tablespoons for eating
- ice cream scoops
- teaspoons for the toppings
- pitchers or bowls for the sauces
- napkins
- To brûlée the bananas, place a rack over a sheet pan.
- Slice them, lengthwise and lay the bananas on the rack.
- Cover the cut side completely with sugar.
- Turn on your blow torch on. Hold it so that the tip of the flame just touches the banana and move the flame back and forth, quickly until the sugar melts, caramelizes (turns brown), bubbles and looks like glass. DO NOT TOUCH IT, until they are cool. If you don’t have a blow torch, you can use your broiler, but move the pan frequently to brûlée them evenly and check them every few seconds because they burn easily.
- Take the ice cream out of the freezer, for 5-10 minutes, so it softens enough for scooping.
- Right before serving, place ice cream containers in a large plastic bucket, surrounded with crushed ice, then salt the tops of the ice to keep it from melting.
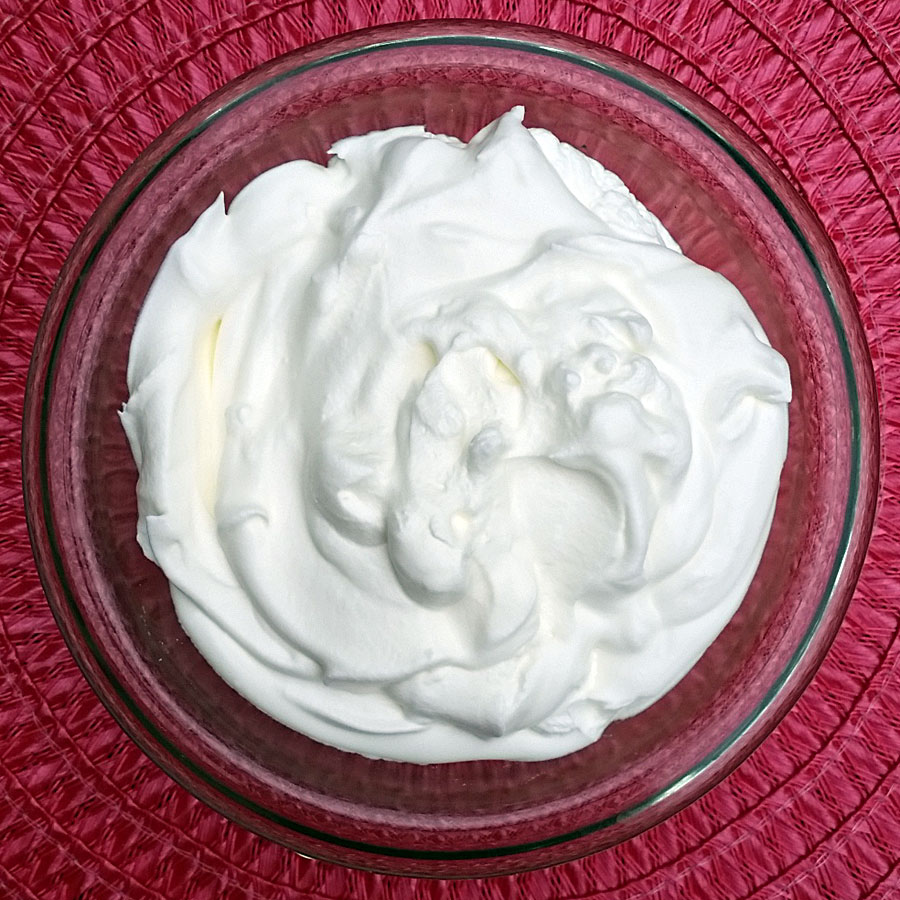
Stabilized Whipped Cream

Ingredients
- 2 teaspoons of unflavored gelatin
- 1/4 cup of cold water
- 2 cups of heavy cream
- 1 teaspoon vanilla
- 1/3 cup granulated sugar
Directions
- Mix gelatin and cold water until the gelatin absorbs the water. Heat to melt gelatin to melt it (in a microwave for 3 minutes, stirring every minute or in a small sauce pan on the stove on low flame, stirring constantly, until melted). Cool for about 10 minutes. Gelatin must be cool before you beat it into the cream.
- In a chilled bowl with chilled beaters, whip cream, sugar and vanilla until mixture just starts to hold a shape (you can just begin to see marks in the cream when you stop beating and lift the beaters), then beat in the cooled gelatin in a steady stream until stiff peaks form. Be careful not to over beat.
